Building a professional-looking website can seem hard if you don’t have coding skills. But with WordPress and the Elementor page builder, you can create a great website on your own.
These tools let you design and organize your site easily using drag-and-drop features and many helpful templates.
You don’t need to hire a developer or learn complex coding to get started. WordPress helps you manage your content, while Elementor makes building your pages simple and fast.
In this guide, we’ll show you how to build a free WordPress site using the Elementor page builder, step by step.
Key Takeaways
- You can create a WordPress website without coding skills.
- Elementor helps you design pages with drag-and-drop ease.
- Choosing the The Plus Addons for Elementor and Nexter Themes improves your site’s function.
What Do You Need to Build a WordPress Website?
To build a WordPress website, you must have a few key things ready.
- Domain name: This is your website’s address on the internet, like www.yourname.com. It helps people find your site easily.
- WordPress hosting: This service stores all your website files and data. Without hosting, your site won’t be available online.
- WordPress builder plugin: This tool makes it easier to design and change your website’s pages without needing to know coding. It replaces the simple WordPress editor for more control and flexibility.
- WordPress theme: This controls how your website looks. It sets the style, layout, and colors. You can pick a theme that fits your style and customize it to make your site unique.
Using the free and powerful WordPress content management system, you can build high-quality websites, whether it’s a simple personal blog, a small business site, or even a complex website or app for a large company.
It’s highly flexible and lets you easily customize every part of your website’s design.
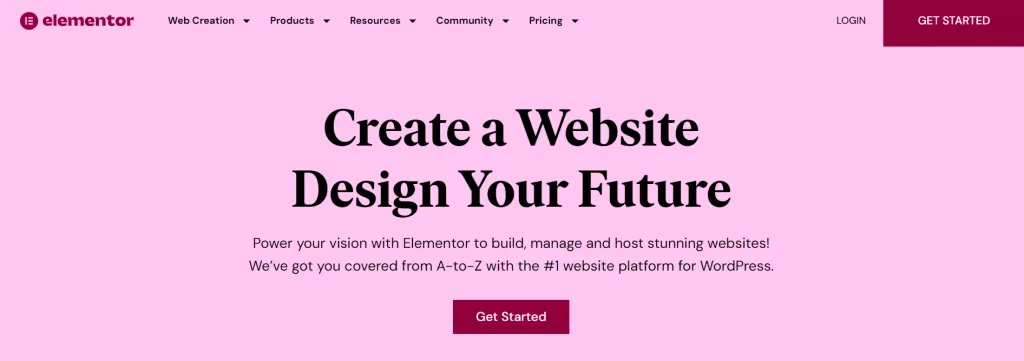
What is Elementor in WordPress?
Elementor is a simple tool you can add to WordPress to build web pages by dragging and dropping parts. You don’t need to know how to code to use it. This makes it easier for you to design sites that look good and work well.
It’s a powerful and versatile tool that works perfectly for both personal projects and professional websites.
With Elementor, you can effortlessly customize every part of your website to match your brand’s style and look.
The visual editor gives you access to a wide range of unique widgets and design options, allowing you to enhance your site with custom fonts, animations, images, text, and more.
What’s more, Elementor lets you build almost any type of webpage, whether it’s a landing page, blog post, promotional page, or even a custom form.
Thanks to its flexibility and user-friendly interface, Elementor has become a favorite page builder among many website developers today.
What is WordPress, and why should I use it to build a website?
Now that you’re familiar with the basics, let’s walk through how to create a WordPress website for beginners using the Elementor page builder.
1. Registering Your Domain and Selecting Hosting
The first step in creating a complete WordPress website is selecting the right domain name and web hosting provider.
As mentioned earlier, your domain name is your website’s address on the internet, while the hosting server is where all your website data and files are stored.
If you’re building a personal website, such as a blog, using your own name as the domain can help strengthen your personal brand. This way, when someone searches your name online, your website is more likely to appear in the results.
On the other hand, if you’re launching a business website, it’s best to use your business name as the domain—this makes it easier for customers to find you online.
When it comes to web hosting, it plays a vital role in your website’s overall performance. A good hosting provider ensures your site runs fast, stays secure, and handles traffic efficiently.
Since website speed affects both user experience and search engine rankings, make sure to pick a hosting plan that prioritizes performance and reliability.
You can choose from a variety of hosting options, from budget-friendly shared hosting to more powerful dedicated servers, based on your website’s goals and scale.
If you’re unsure where to begin, here are some reliable hosting services to consider for your WordPress website:
1.1 Hostinger
Hostinger is one of the most popular web hosting providers, known for its user-friendly interface, solid performance, and scalability.
It offers a variety of budget-friendly shared hosting plans that are ideal for personal websites, landing pages, and small to medium-sized businesses.
For websites with higher traffic or resource demands, Hostinger also provides VPS and cloud hosting solutions.
1.2 Cloudways
Cloudways is another top choice for web hosting, known for its reliable performance and advanced features.
It offers strong security features and 24/7 live chat support, making it a dependable option for managing your website effectively.
1.3 Kinsta
Kinsta specializes in managed WordPress hosting, which means all the technical setup and server maintenance is handled for you.
Powered by cloud infrastructure, Kinsta delivers fast loading speeds and a highly optimized website experience.
Its advanced caching tools help reduce resource usage and improve site performance significantly.
These hosting providers cater to different needs, whether you’re launching a personal blog or running a high-traffic business website, so choose the one that best fits your goals and budget.
2. Installing and Configuring WordPress CMS
The next step is to install and set up your WordPress content management system (CMS). If you’ve done some research, you’ve likely come across both WordPress.org and WordPress.com, and you might be wondering what the difference is.
The key difference lies in who hosts your website:
- WordPress.org is a free, open-source platform where you host your own website using a third-party hosting provider. You’ll need to download the WordPress software, purchase a domain name, and handle the installation yourself, but this option gives you full control and flexibility.
- WordPress.com, on the other hand, is a paid service where WordPress hosts your website for you. You don’t have to worry about connecting to a separate hosting provider or managing server settings; WordPress takes care of everything.
If you’re using a third-party hosting provider (like Hostinger or Cloudways), you’ll need to manually install WordPress CMS and connect your domain name to your website.
However, if you go with a managed WordPress hosting provider like Kinsta, WordPress will be pre-installed for you, since their platform is specifically optimized for WordPress websites.
Either way, once WordPress is set up, you’ll be ready to start designing your site with Elementor.
3. Picking the Right Theme for Your Site
Your website’s design is a crucial element, and it’s mainly determined by the WordPress theme you choose.
In simple terms, WordPress themes are pre-designed templates that control how your website looks and feels.
When you first set up your site, WordPress automatically applies a default theme. However, this default theme may lack the customization options and design features needed to create a visually appealing and professional website.
That’s why installing a custom WordPress theme is a great way to give your site a unique and polished look, especially if you’re building a business website.
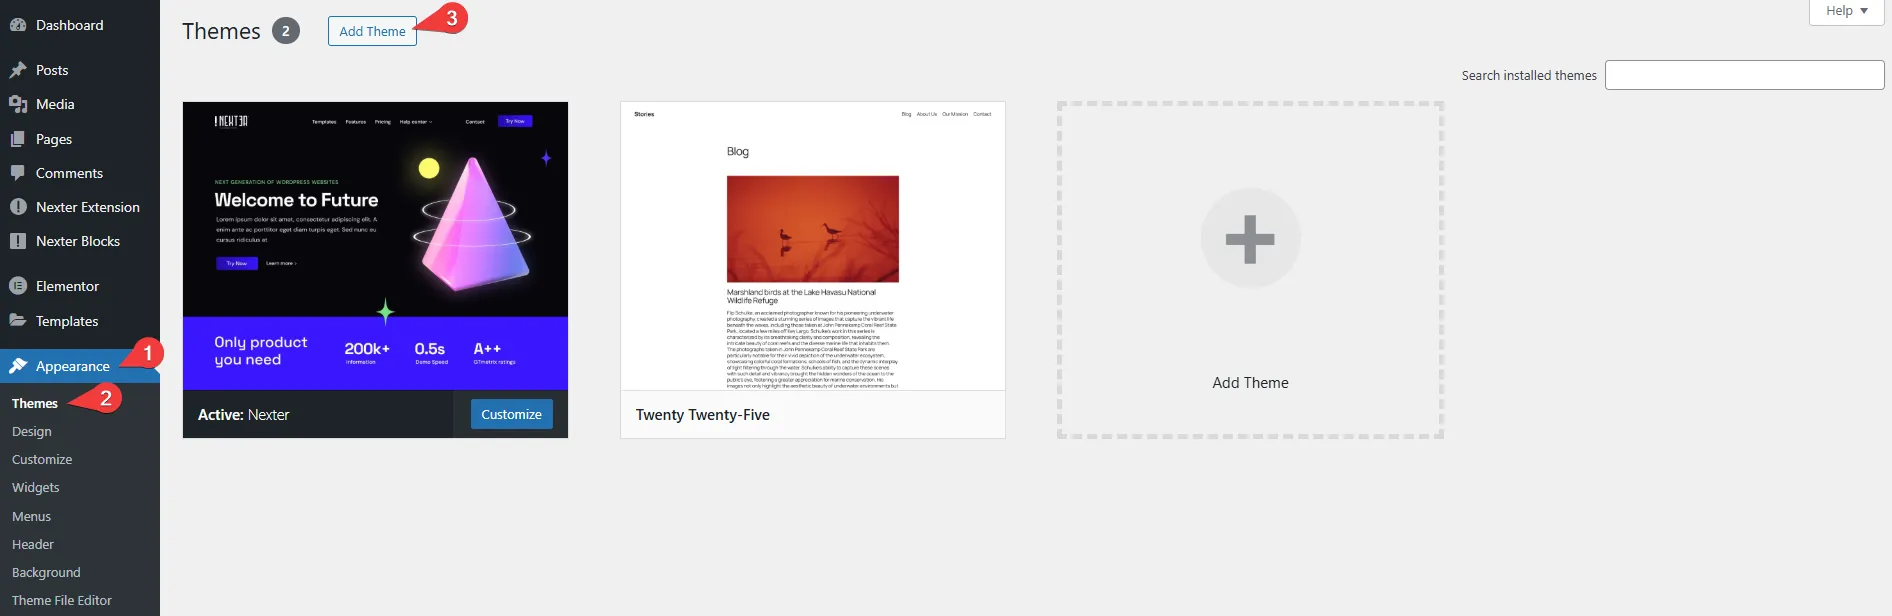
To install a new theme, simply go to your WordPress dashboard, navigate to Appearance > Themes, and click on Add Theme. From there, you can browse, preview, and install the theme that best fits your needs.
For your WordPress website, it’s important to choose a lightweight and fast-loading theme to improve overall performance and user experience.
One highly recommended option is the Nexter Theme by POSIMYTH Innovations.
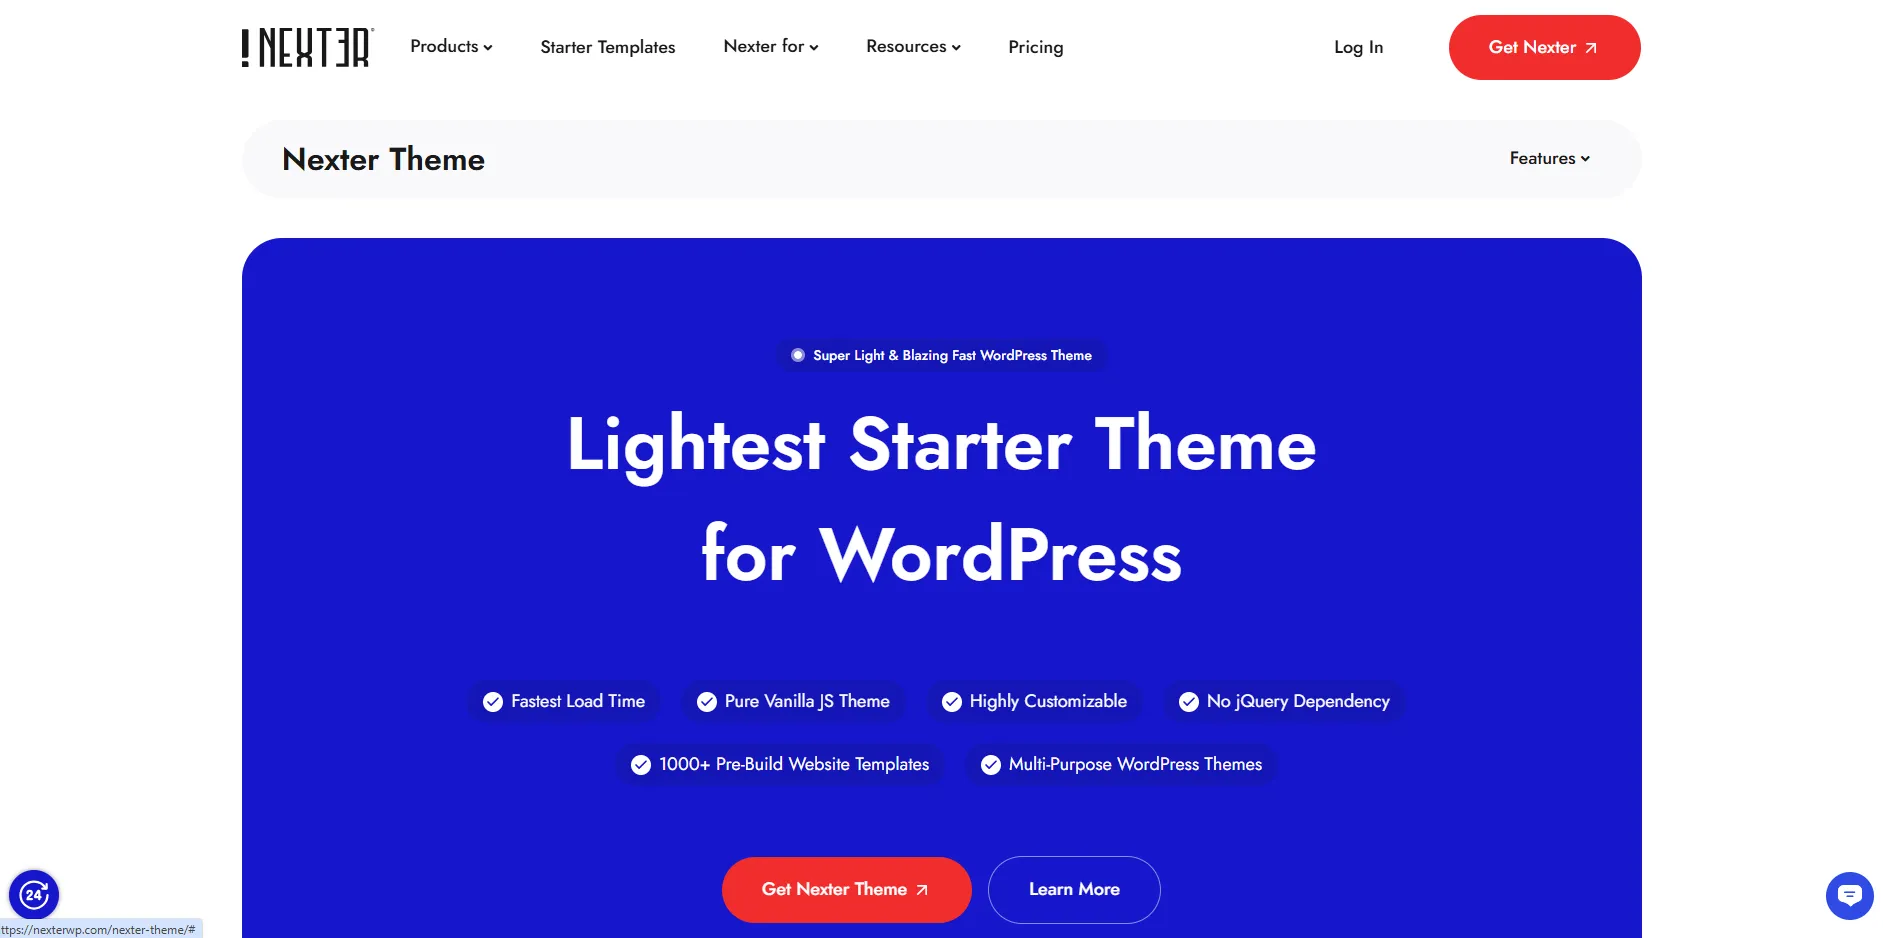
Nexter is a highly lightweight, fully responsive, and customizable WordPress theme that allows you to design your website exactly the way you want.
It offers all the core features you’d expect from a premium theme, along with powerful extras like a built-in header and footer builder, pre-designed templates, advanced security options, and more.
Since it’s a blank canvas theme, it doesn’t load any unnecessary CSS or JavaScript, keeping your website fast and clean. This also gives you full freedom to customize your site without restrictions.
Best of all, the Nexter theme is fully compatible with Elementor, allowing you to create engaging, dynamic websites with ease.
4. Installing Key Plugins for Better Features
- Install Elementor
Elementor for WordPress is a popular freemium plugin widely recognized as one of the best page builders for both beginners and experienced developers. It offers an easy-to-use drag-and-drop interface that allows you to build high-performing websites without any coding.
With a wide range of features and widgets, Elementor helps you customize your website’s design and functionality to make it truly unique.
To install Elementor on your WordPress site, go to Plugins in your WordPress dashboard, click Add New, then search for Elementor. Install and activate the plugin to start using it.
If you want to unlock more advanced features and tools, you can upgrade to Elementor Pro. After purchasing, simply enter your license key in the WordPress dashboard under Elementor > License to activate the premium features.
- Install The Plus Addons For Elementor
Now that you have your WordPress CMS, theme, and Elementor page builder set up, you might want to add extra features to make your website more powerful and engaging.
The Plus Addons for Elementor is a complete toolkit offering over 120 unique widgets for your Elementor site.
These addons transform how you use Elementor, whether you want to add mega menus, create a WooCommerce store, include animations, display your social media feeds, build custom pricing tables, add reviews, and much more. The Plus Addons for Elementor give you everything you need to make your website truly stand out.
To install The Plus Addons for Elementor on your WordPress site, go to your WordPress dashboard, click Plugins > Add Plugin, search for The Plus Addons for Elementor, then install and activate the plugin to get started.
5. Designing Custom Headers, Footers, and Menus
When you use the Nexter WordPress theme, you gain access to Nexter Builder – a robust theme-building tool for your WordPress site that enables you to create custom templates for visually appealing and well-structured websites.
By integrating The Plus Addons for Elementor, you can easily design and personalize different areas of your website, such as the header, footer, blog layout, and more.
To get started with your site’s header and footer, the Nexter theme provides ready-made templates that you can modify to suit your design needs.
How to Build a Header and Footer Template in WordPress?
Creating a custom header and footer for your WordPress site is an effective way to organize your design elements and enhance user navigation.
A header template allows you to easily place features like a search bar, brand logo, and blog links at the top of your page. Meanwhile, a footer template provides a space to display contact details, your business location, and other important information at the bottom of your site.
Follow these steps to add header and footer content to your website using Nexter Builder:
- From the Nexter Builder dashboard, navigate to Nexter Extension > Theme Builder > Add New Template.
- Then, you’ll see the Create Your New Templates pop-up menu.
- In the Select Template dropdown, choose Header under the Layout Heading, and enter the template name in the Name of Template field.
- Next, click on the Additional Settings button. In the Type dropdown, select any one of the available options, then click the Next button.
- In the Set Display Condition section, select All Pages from the Include In dropdown under the Pages Heading.
- In Exclude From, either leave it as default or choose where you want to exclude the template, then click the Create button.
- From the Header dropdown menu, you can select from various header styles, configure display conditions to show the header on specific pages, define its position, and apply other advanced settings.
- In the same way, go to the Select Template dropdown, choose Footer under the Layout Heading, and enter the template name in the Name of Template field to create a footer template for your site. Follow the rest of the steps as mentioned above.
- You can personalize the style and visibility of the footer across different pages directly from the dashboard settings.
How to Integrate a Mega Menu into Your Elementor WordPress Website?
If you prefer learning through videos, check out this in-depth video tutorial:

Mega menus are expansive, two-dimensional dropdown menus that let you include content and links to various pages across your website.
Unlike standard navigation menus, mega menus offer a broader layout, enabling you to organize and link multiple sections of your site directly from the menu itself.
They help you design a well-structured navigation experience by allowing detailed item arrangements and visual elements, enhancing how users explore your site.
While WordPress doesn’t support mega menus by default, you can easily add a responsive and fully customizable Mega Menu using The Plus Addons for Elementor.
Here’s how you can do it.
Step 1: Install and Activate the Mega Menu from The Plus Addons for Elementor
To get started, you’ll need to install The Plus Addons for Elementor Pro, as the Mega Menu feature is part of the premium widget collection.
Once the plugin is installed, go to your WordPress dashboard and click Activate.
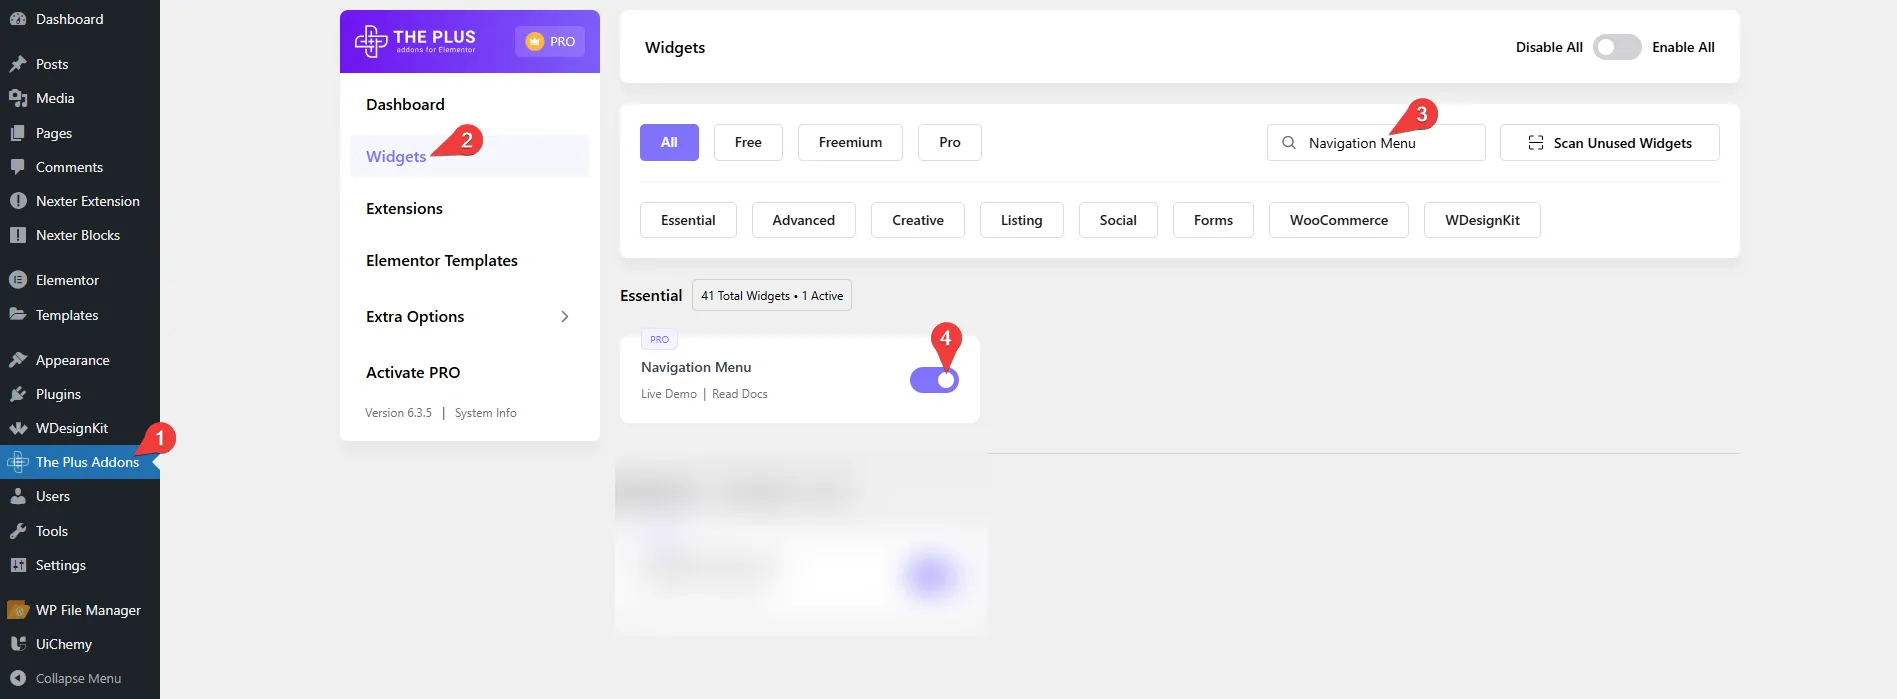
After activation, all available widgets will be unlocked. Navigate to The Plus Addons > Widgets, then locate and enable the Navigation Menu widget.
Step 2: Build Your Mega Menu Using Elementor
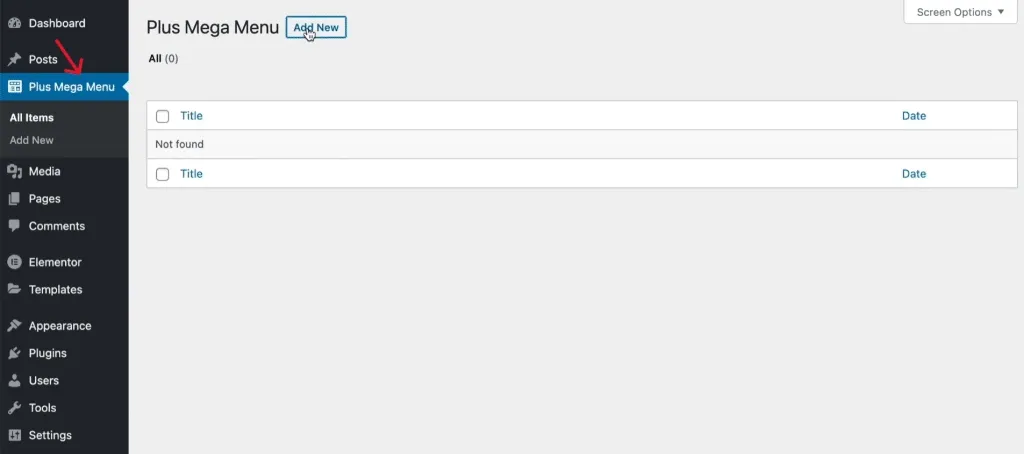
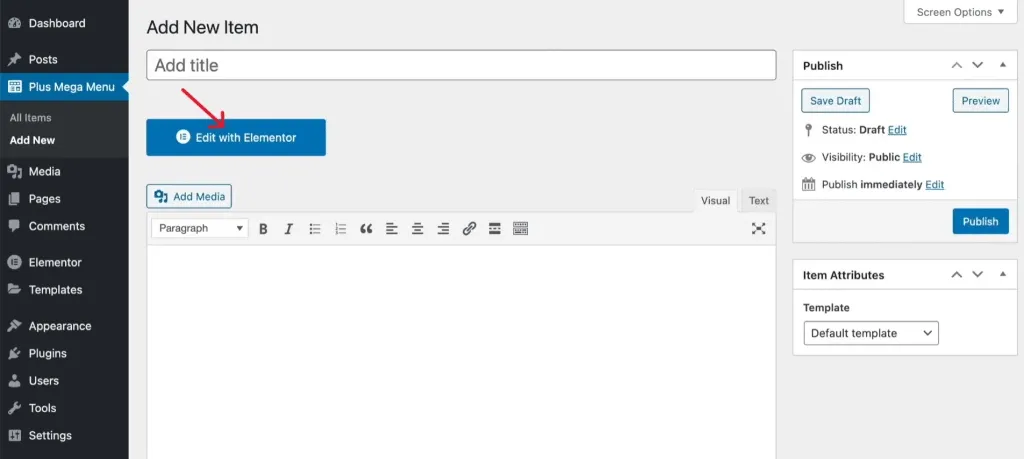
In your WordPress dashboard sidebar, look for the Plus Mega Menu option. Click on it, then select Add New to start creating your custom Mega Menu.
Give your Mega Menu a title, then click Edit with Elementor.
This will open the Elementor editor, where you can start designing your Mega Menu layout. You can insert sections, add images, text lists, customize styles, and much more to create a visually engaging and functional menu.
Alternatively, you can quickly add mega menu templates from The Plus Addons for Elementor to your website using their unique live domain copy-paste feature.
After activating the widget, simply navigate to the section of a website you want to copy, click Copy, then return to the Elementor editor. Right-click on a new section and select Plus Paste to insert the template.
Step 3: Assign the Mega Menu in WordPress
Once your custom mega menu template is complete, you can easily integrate it into your site via the WordPress dashboard. Go to Appearance > Menus, where you can either select an existing menu or create a new one to which you’ll assign your mega menu.
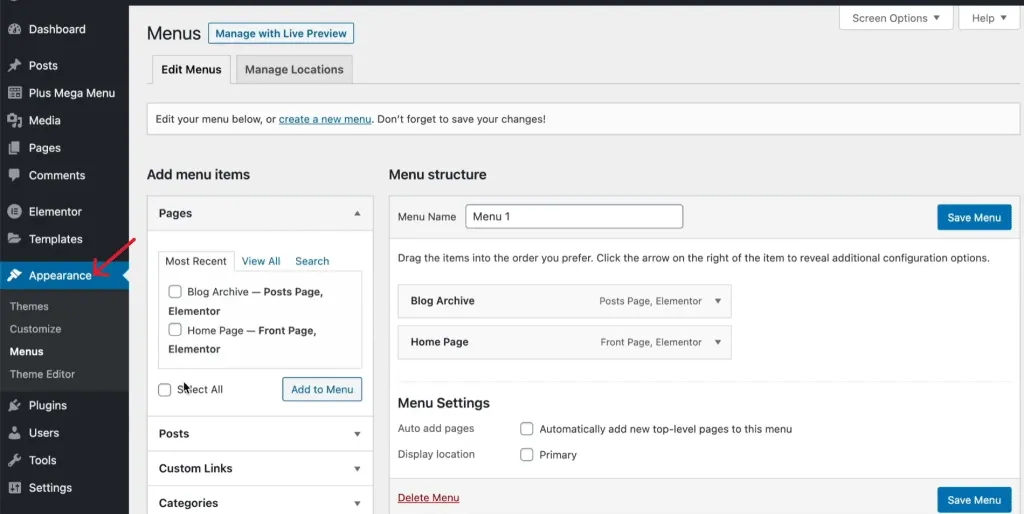
Next, go to Manage Locations and pick where you want your mega menu to show up on your website.
Step 4: Customize the Appearance of Your Mega Menu
After your mega menu is live on the site, you can tailor it to your needs by adding new categories, pages, and links.
Using Elementor, you have complete control over the look and functionality of your mega menu. You can include product listings, enrich it with images or illustrations, apply scrolling animations, and customize fonts, layouts, colors, content, and much more to create a truly unique navigation experience.
6. Boost Your Elementor Page Builder’s Power
Elementor is one of the best page builders available, but sometimes it lacks certain features to make your website more interactive and user-friendly.
To get more functionality, you need an easy-to-use, all-in-one plugin that adds extra tools to Elementor.
The Plus Addons for Elementor give you the biggest collection of helpful widgets for your WordPress site. It includes many unique features, design options, and even a complete blog builder to help you create great blog pages.
All the widgets come with clean code and are optimized to load fewer files, which helps your website run faster.
Plus, it supports multiple languages and has built-in lazy loading to improve performance. It works smoothly with popular themes like Nexter, so you can build an attractive website without any hassle.
Here are some features you can add to your Elementor website:
- The Plus Widgets: This is a set of 96 useful Elementor widgets all in one plugin. It includes tools for design, search, controlling sections, adding videos, social sharing, and much more. With these widgets, you can build smart and attractive web pages quickly and easily.

Explore over 120+ Elementor Widgets with The Plus Addons:
- The Plus Listings: Create stunning website sections using 14 widgets for listing content. Choose from different layouts and templates to build image galleries, display testimonials, add product pages, and more.
- The Plus Builder: This collection helps you design custom blog pages, WooCommerce shops, headers, and pop-ups. It offers many styling options to tailor your pages exactly how you want.
- The Plus Extras: A set of extra flexible widgets to boost your site’s functionality. With these, you can add animations, adjust section sizes, copy and paste content from other websites, test new designs, and much more.
Wrapping Up
Building a fast and powerful WordPress website on your own can feel overwhelming. Luckily, Elementor’s easy drag-and-drop page builder makes it simple.
Elementor gives you all the tools to create an interactive, professional website that your visitors will love. You can easily add the perfect elements and design your site just how you want. And if you want to take things even further, try The Plus Addons for Elementor to boost your website’s features and engagement.
Frequently Asked Questions
Is Elementor free to build WordPress websites?
Yes, you can use Elementor without paying to build your WordPress site. It lets you drag and drop elements easily to design and change your pages. If you want more tools and features, you can choose to buy Elementor Pro.
Can I get free templates from Elementor, and how do I find them?
Elementor provides many free templates to help you design your site faster. You can browse these ready-made designs inside the Elementor editor and add them to your pages without extra cost.
You can also check our WDesignKit, which offers free Elementor templates that you can import on your site without any coding.
How does Elementor stack up against other free WordPress page builders?
Elementor is simple to use and lets you make both good-looking and working websites. It has lots of design options, custom layouts, and ready templates, making it a strong choice for building a free WordPress site.