
WordPress Sticky Header: Every Way to Build One in 2026
“WordPress sticky header” is a broader search than “Elementor sticky header,” and the volume backs that up: the qualified Elementor term sits at 70 searches a month, while the plain WordPress version has climbed toward 40 a month with one of the sharpest trend lines in this whole space, up roughly 250 percent over the past year according to DataForSEO Labs data pulled this month. More people are landing on this question from outside the Elementor ecosystem entirely.
For the scroll-effects route specifically, see what the plugin actually does.
That matters because “sticky header” is not one feature with one setup path. Depending on your theme, your page builder, and your comfort with code, there are at least four real ways to get there, and they are not interchangeable. This is a straight comparison of all four, aimed at whichever WordPress site you are actually running.
Key Takeaways
- A sticky header keeps the site’s logo and navigation visible while a visitor scrolls, using CSS
position: stickyorposition: fixedunder the hood. - Four real routes exist: your theme’s own setting, hand-written CSS, Elementor Pro’s Theme Builder toggle, or a dedicated sticky-header plugin like Sticky Header Effects for Elementor.
- Only one of the four (a dedicated plugin) adds scroll-triggered effects (shrink, background color change, hide on scroll down, and more) on top of basic stickiness.
- Elementor Free has no native sticky header setting at all. That control lives inside Elementor Pro’s Theme Builder specifically.
- Sticky Header Effects for Elementor runs on Elementor Free or Pro, adds 10 free effects (21 total with Pro), and works on unlimited sites at no cost for the free tier.
What “Sticky” Actually Means at the CSS Level
Every sticky header on the web comes down to one of two CSS positioning values. position: sticky keeps an element in normal document flow until it would scroll out of view, then pins it, all handled natively by the browser with no JavaScript required. position: fixed pins an element to the viewport from the start, which is simpler but needs manual spacing so content underneath does not jump up and hide behind it.
MDN’s own documentation on this property is the primary technical reference, and it is worth reading once even if a plugin or theme setting handles the implementation for you, because it explains exactly why a sticky element sometimes refuses to stick (a parent container with overflow: hidden is the most common cause).
Route 1: Your Theme’s Built-In Sticky Setting
Many WordPress themes, page-builder-focused ones especially, ship a Customizer setting that makes the header sticky with one toggle. This is the fastest route when it exists, and it costs nothing beyond what you already own.
Its ceiling is low by design: on or off, with maybe a background color option and nothing else. No shrink on scroll, no hide-on-scroll-down, no per-device control beyond a basic mobile on/off switch. If that ceiling is enough for your build, stop here. If it is not, the other three routes are where the real decision happens.
Route 2: Hand-Written CSS
A sticky header in raw CSS can be as short as a few lines: position: sticky; top: 0; z-index: 999; on the header’s container. This is genuinely the right call for a fully custom-coded theme with no page builder in the stack, where adding a plugin for one property would be overkill.
The honest cost shows up the moment you want anything beyond plain stickiness. A background color change on scroll needs a scroll-listener script and a class toggle. A shrink effect needs the same, plus transition timing tuned by hand. Hide on scroll down needs scroll-direction detection, which is more fragile than it sounds across different input devices (mouse wheel, trackpad, touch). None of this is hard for a developer, but it is real ongoing code to write, test, and maintain per project, every time.
Route 3: Elementor Pro’s Theme Builder Toggle
If the site is built in Elementor Pro, the Theme Builder’s header template has its own sticky setting under the Advanced tab: on or off, with a scroll-distance-before-sticking option and a basic effects offset. This is a genuine built-in feature, not a workaround, and it requires no additional plugin.
It shares the same ceiling as a theme’s built-in toggle: stick or do not stick, with no scroll-triggered visual changes beyond that. It also requires Elementor Pro specifically; Elementor Free’s Theme Builder does not include this setting, which is the exact gap the fourth route exists to fill.
Route 4: A Dedicated Sticky-Header Plugin
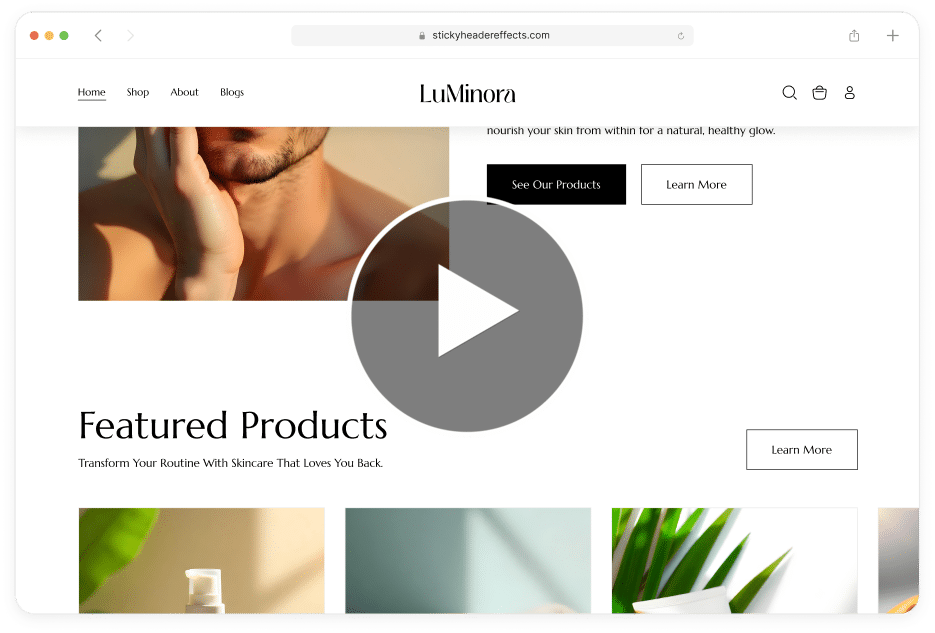
A dedicated plugin is the only route that works identically whether the site runs Elementor Free or Elementor Pro, and the only one built specifically to add scroll-triggered effects rather than a single on/off state. Sticky Header Effects for Elementor is built for exactly this.
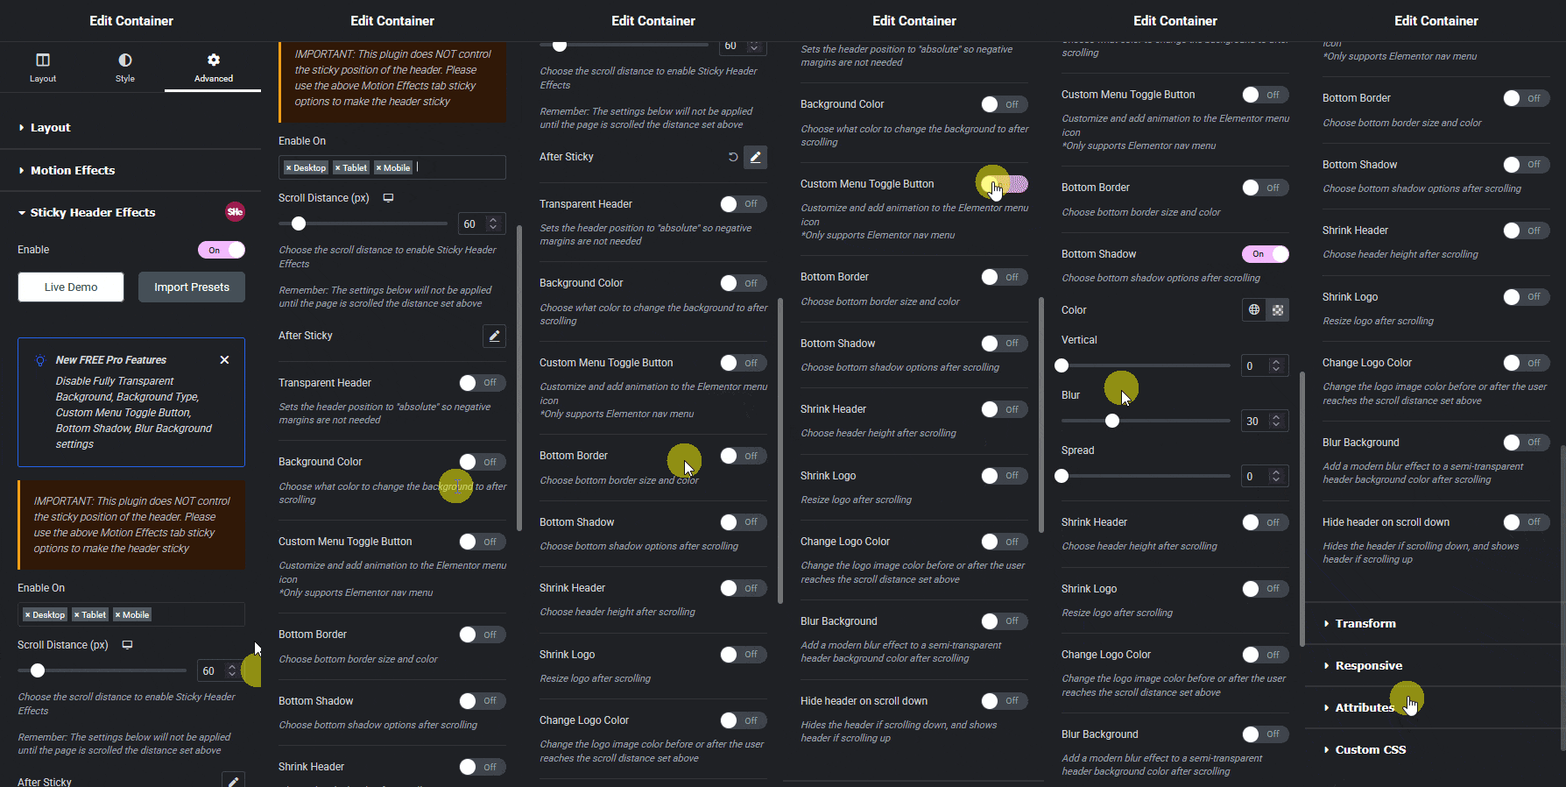
It adds sticky positioning plus 10 free scroll effects (Header Scroll Distance, Transparent Header Background, Dynamic Background Color Change, Bottom Border Styling, Header Shrinking, Logo Shrinking, Logo Color Change, Blur Background, Hide Header on Scroll Down, and Above Header Section), all set from the Elementor Advanced tab with no custom CSS. Full setup detail for each effect is in the plugin’s own documentation.
Every effect runs on CSS transform and opacity only, the same properties a hand-written scroll script would ideally use if written carefully, which keeps the header smooth at 60fps without adding weight to Core Web Vitals scores. Pro adds 11 more effects (21 total), including logo image swap, header replace on scroll, and multi-sticky coordination for two-row headers, plus 50+ ready-made templates. Current pricing for Pro and Agency tiers is on the pricing page, since it changes independently of this guide.
Choosing Between the Four Routes
If your theme’s built-in toggle already does everything you need, use it; there is no reason to add a plugin for a feature you already own. If you run a fully custom-coded theme with no page builder, hand-written CSS is the right scope for a plain sticky header, with the understanding that anything beyond plain stickiness becomes real code to maintain.
If you build in Elementor Pro and only want on/off stickiness, the Theme Builder toggle is already there. If you are on Elementor Free, want any scroll effect beyond plain stickiness, or want the same setup to work identically across Free and Pro sites in an agency’s client roster, a dedicated plugin is the route built for exactly that job.
Frequently Asked Questions
Does WordPress have a sticky header built in? No. WordPress core has no sticky header feature. Stickiness comes from your theme, hand-written CSS, Elementor Pro’s Theme Builder, or a dedicated plugin.
Do I need Elementor Pro for a sticky header? Not necessarily. Elementor Pro has a native toggle, but Sticky Header Effects for Elementor works on Elementor Free too, so a sticky header with scroll effects does not require upgrading Elementor itself.
Will a sticky header slow my site down? A plugin built on transform and opacity, as Sticky Header Effects for Elementor is, should not measurably affect Core Web Vitals. A hand-written scroll listener that forces layout recalculation on every scroll event can, if not written carefully.
For the CSS mechanics behind every route above, MDN’s position reference and web.dev’s Core Web Vitals overview are the primary sources worth bookmarking. Elementor’s own help center documents the Theme Builder’s native sticky setting in full, and the current install count, rating, and version for Sticky Header Effects for Elementor are always visible on its WordPress.org listing.
Want the sticky header without the code?
Sticky Header Effects for Elementor drops in as a widget. Free plugin, no account needed.
