
How to Edit the Header in Elementor, Step by Step
Where you go to edit an Elementor header depends on how that header was built in the first place, and that single fact trips up more people than any actual editing step. This walks through both paths, page-level and Theme Builder, plus what changes once you add sticky scroll behavior on top.
Once you know where to edit, controlling exactly when it goes sticky is usually the next setting worth checking.
Knowing how to edit header in Elementor starts with identifying which of the three build methods your site actually used in the first place.
Key Takeaways
- A header built directly on a page is edited like any other Elementor section. A header assigned site-wide through the Theme Builder is edited from Templates, Theme Builder, Header, in Elementor Pro.
- Elementor Free has no Theme Builder, so a site-wide header there is usually a theme header, edited through the theme’s own customizer, or a header placed manually near the top of key pages.
- The section or container that wraps the whole header is the one control point for sticky behavior, spacing, and z-index, all set from its Advanced tab.
- Editing a header that already has sticky effects applied does not require turning those effects off first; changes to logo, menu, and colors happen on the same live section.
- 300,000+ sites currently run Sticky Header Effects for Elementor to add sticky and scroll behavior to a header built either way, on Elementor Free or Pro.
Find Out How Your Header Was Built First
Open the page in the front end and look at the header while scrolling. If it stays pinned and Elementor Pro is active, it is very likely a Theme Builder header, edited from a single template that controls every page. If it scrolls away with the rest of the page, or if only Elementor Free is active, it is probably a header built directly into a page, or a theme header Elementor never touches.
This distinction decides where you click next. Editing the wrong copy of a header, for instance a duplicate page-level header instead of the real Theme Builder template, is a common source of “I edited it and nothing changed” confusion.
Editing a Theme Builder Header (Elementor Pro)
From the WordPress dashboard, go to Templates, Theme Builder, then Header. Elementor Pro lists any header templates already created there, each with its own display conditions controlling which pages it appears on.
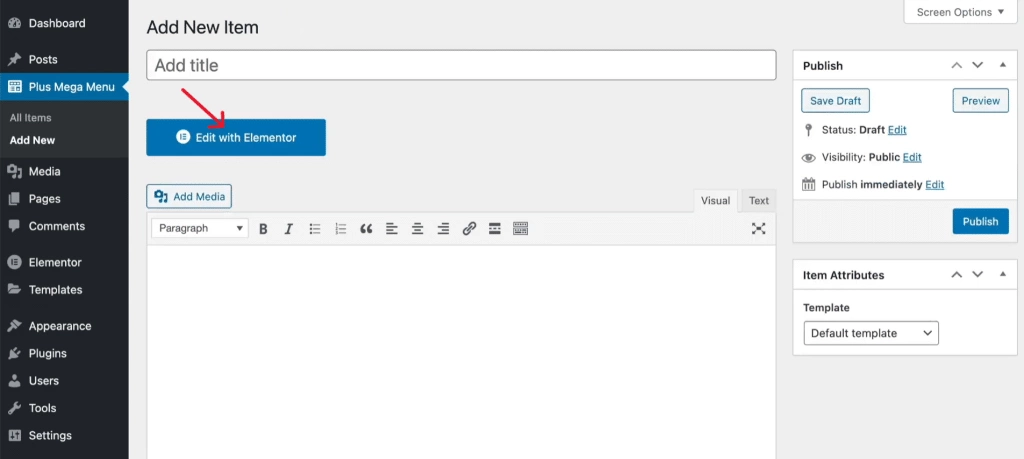
Click Edit with Elementor on the template you want, and the header opens in the same editor used for any Elementor page. Changes here apply everywhere the template’s display conditions match, which is usually the entire site. Select the outer section or container that wraps the whole header, not a widget inside it, since that is the layer that exposes header-wide Advanced tab controls.
Editing a Header Placed Directly on a Page (Elementor Free or Pro)
Without the Theme Builder, a header is usually a section sitting at the top of a page, edited with Elementor like any other part of that page. Open the page, click into the header section, and edit the logo widget, menu widget, or any other element inside it directly.
If the same header needs to repeat across many pages this way, save it as a reusable template through Elementor’s own Save as Template option, then insert that saved template on each page rather than rebuilding it from scratch every time.
Editing the Logo, Menu, and Layout
The logo is almost always an Image widget or Elementor’s Site Logo widget; click it and replace the image directly, no separate settings page required. The menu is typically Elementor’s Nav Menu widget, pulling from whatever WordPress menu is assigned to it under Content, Menu.
Layout changes, spacing between logo and menu, alignment, background color for the non-sticky state, all live on the section or container’s own Style and Advanced tabs, the same tabs used for any Elementor section.
Editing a Header That Already Has Sticky Effects
If Sticky Header Effects for Elementor is already active on the section, its control group appears in the same Advanced tab, directly below Elementor’s own Motion Effects. Editing the logo, menu, or colors above it does not require disabling any of the 21 effects first.
One thing to check after a content edit: a resized logo or a longer menu label can change the header’s height, which can shift the scroll distance value that controls when sticky effects trigger. Re-check that value after any layout edit rather than assuming it still matches.
Editing Header Height and Spacing Without Breaking the Layout
Header height is usually set by padding on the outer section rather than a fixed pixel value, which is why changing the logo size or menu font size can quietly change the whole header’s height. Check the Advanced tab’s padding values on both the section and the inner column before assuming a height change was intentional.
On a header with a border or shadow effect, spacing changes can also expose a gap between the header and the content directly beneath it. This shows up more often on Elementor Free sites where the header sits on the page itself rather than in a dedicated Theme Builder slot, since there is no automatic offset the way there is with some sticky implementations.
Previewing an Edit Before It Goes Live
Elementor’s editor canvas is close to the live front end but not identical, particularly for anything involving scroll position. Preview the page directly, using the eye icon in the editor’s bottom bar, rather than judging a header edit purely from the canvas.
If the header has sticky effects, scroll the actual preview page rather than the editor iframe. Hide Header on Scroll Down and other direction-aware effects depend on real scroll events that behave more predictably outside the editor’s own frame.
Common Editing Mistakes
Editing a page-level header when the real header is in the Theme Builder. Changes save fine but never appear live, because the page is not actually rendering that section; the Theme Builder template is. Check Templates, Theme Builder, Header first if this happens.
Editing inside a nested inner section instead of the outer wrapper. Sticky, background, and effect settings apply to the outermost section or container, not to an inner column. Selecting the wrong layer in Elementor’s Navigator is the most common cause of a setting that appears to do nothing.
Frequently Asked Questions
Can I edit the header in Elementor Free? Yes, if it is built as a section on a page. Elementor Free has no Theme Builder, so a true site-wide header template is an Elementor Pro feature.
Why did my header edit not show up on the live site? Most often because a different copy of the header, usually the real Theme Builder template, is the one actually rendering. Confirm which header is live before assuming the edit failed.
Does adding sticky effects change how I edit the header afterward? No. Sticky Header Effects for Elementor adds a control group to the same Advanced tab; every other editing step for logo, menu, and layout stays the same.
Will editing the header affect my page’s loading speed? A heavier logo image or an added widget can. Sticky Header Effects for Elementor’s own scroll effects run on transform and opacity only, so turning effects on or off does not itself add meaningful load, but a large uncompressed logo image still will.
Elementor’s own Theme Builder documentation covers header template assignment and display conditions in full. For adding sticky scroll behavior once the header itself is edited, see the Elementor sticky header setup guide and the plugin’s own documentation. Version and requirement details for Elementor itself are on its WordPress.org listing.
Want the sticky header without the code?
Sticky Header Effects for Elementor drops in as a widget. Free plugin, no account needed.
