Your website’s header is more than just a logo and a menu. It’s the first impression you make on every visitor.
Whether you want a simple navigation bar or a dynamic, feature-rich header, Elementor makes it easy to create stunning headers without touching a line of code.
In this guide, you’ll discover how to use Elementor header templates, customize them to fit your brand, and even build your own header from scratch.
Let’s get started!
Why Elementor Header Templates Are a Game-Changer?
Gone are the days of struggling with PHP files or rigid theme options. Elementor header templates give you:
- Speed: Instantly apply a professional header layout to your site.
- Simplicity: Use drag-and-drop tools. No coding required.
- Flexibility: Tweak every element to match your brand’s style and needs.
Whether you’re a beginner or a seasoned designer, Elementor’s templates can save you hours and provide a polished look right out of the box.
What Exactly Are Elementor Header Templates?
Elementor header templates are pre-designed header sections you can import into your WordPress site. These templates typically include essential elements like:
- Your site logo
- Navigation menus
- Call-to-action buttons
- Social media icons
- Search bars
After importing a template, you’re free to rearrange, style, and personalize every part of it using Elementor’s intuitive editor.
Should You Use Elementor Header Templates?
Absolutely! Here’s why:
The Advantages
- Rapid setup: No need to code or hunt for header.php files.
- User-friendly: Elementor’s interface is perfect for both newbies and pros.
- Customization: Tweak colors, fonts, layouts, and more to fit your site.
A Few Considerations
- Basic by default: Most templates cover standard needs. For advanced features, you might need to build from scratch.
- Uniqueness: Since templates are widely used, your header could look similar to others unless you customize it.
- Complexity limits: Over-customizing a template may impact performance. For highly unique headers, start from scratch.
How to Use Elementor Header Templates: Step-by-Step
Ready to build your custom header? Let’s dive in:
1. Access the Theme Builder
In your WordPress dashboard, go to Templates > Theme Builder.
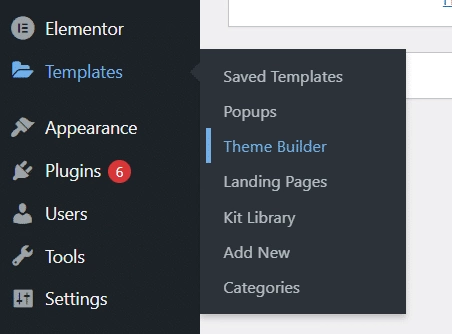
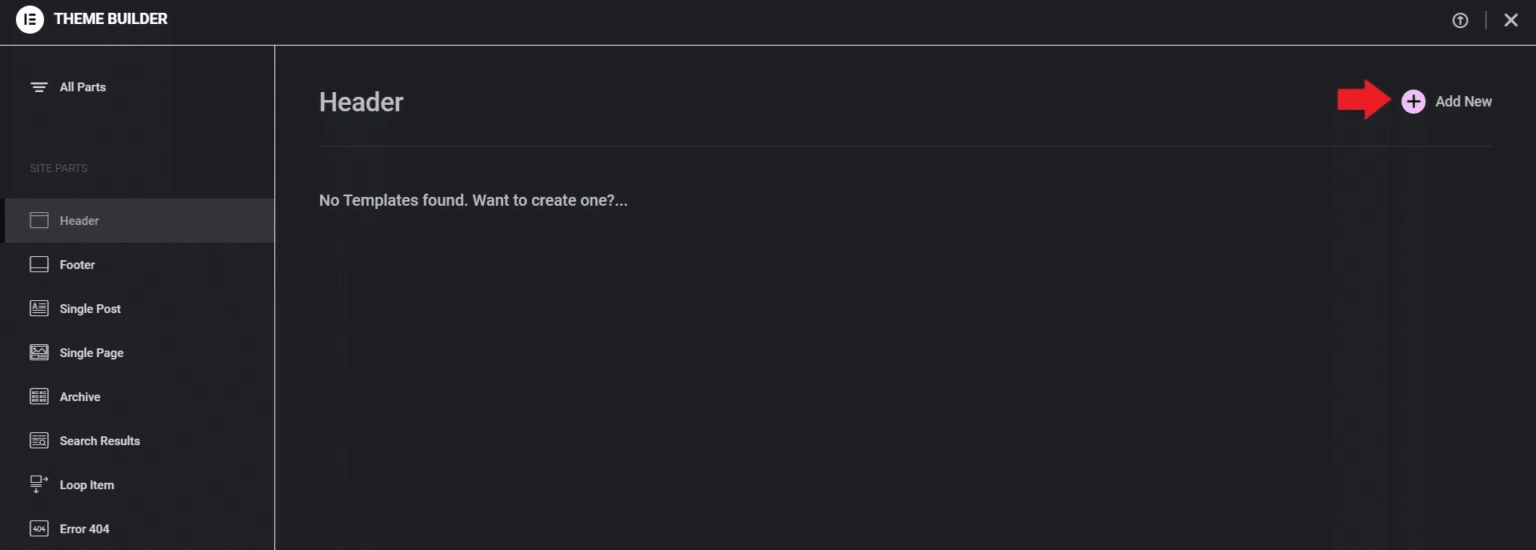
Click the Header tab, then hit Add New.
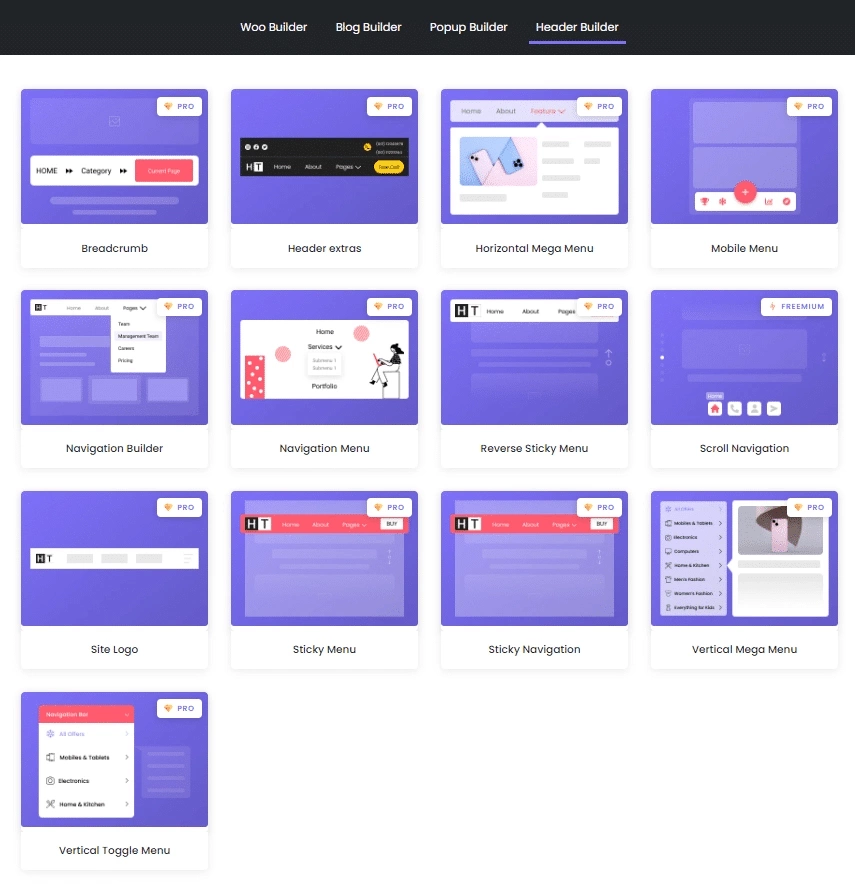
2. Choose a Header Template
Browse the available templates in the pop-up window.
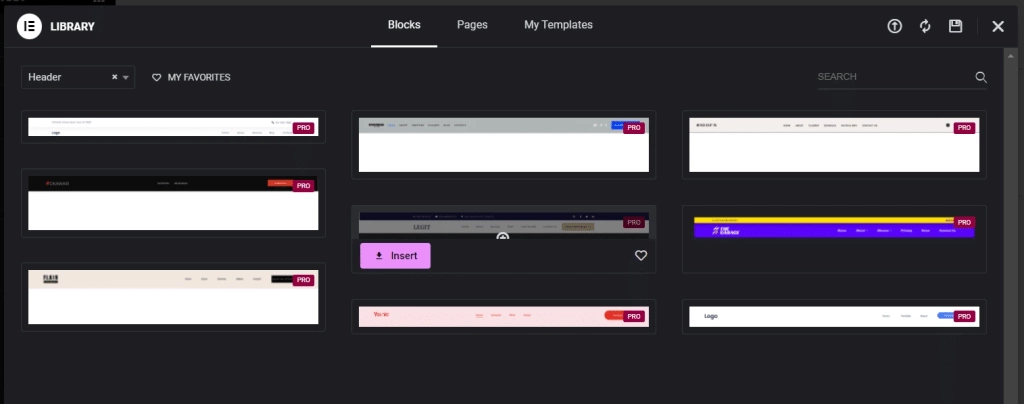
Hover over the one you like and click Insert.
3. Personalize Your Header
Replace the logo, update menu links, and adjust buttons as needed.
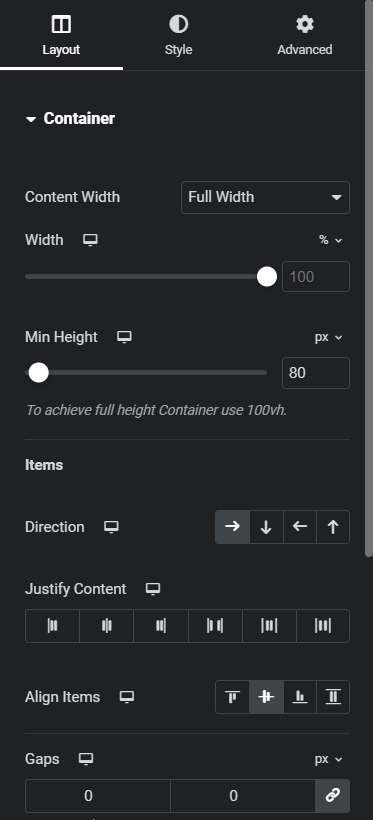
Use the six-dot icon to access section settings.
Under the Layout tab, modify height, alignment, and spacing.
In the Style tab, change background colors, add borders, and enable effects.
4. Publish and Set Display Conditions
Click Publish.
Choose where your header appears: Entire Site, Archives, or Singular pages.
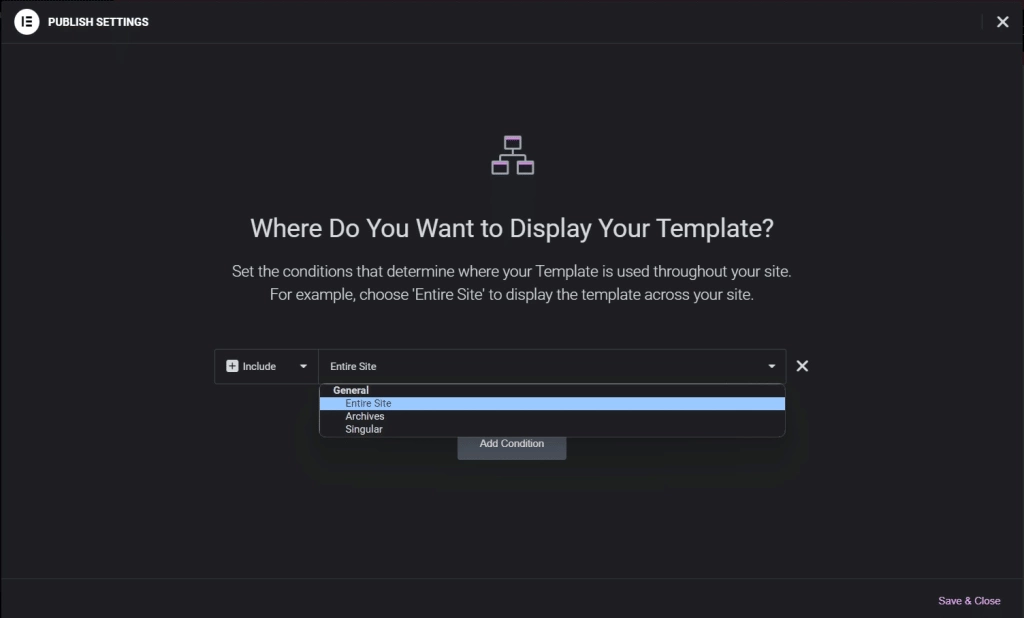
For a site-wide header, select Entire Site and save.
That’s it! Your new header is live and ready to impress.
How to Build a Header from Scratch? [For Full Control]
If you want a truly unique header, Elementor’s widgets let you create one from the ground up:
1. Add a Section with Columns
Click the + icon and select a three-column layout.

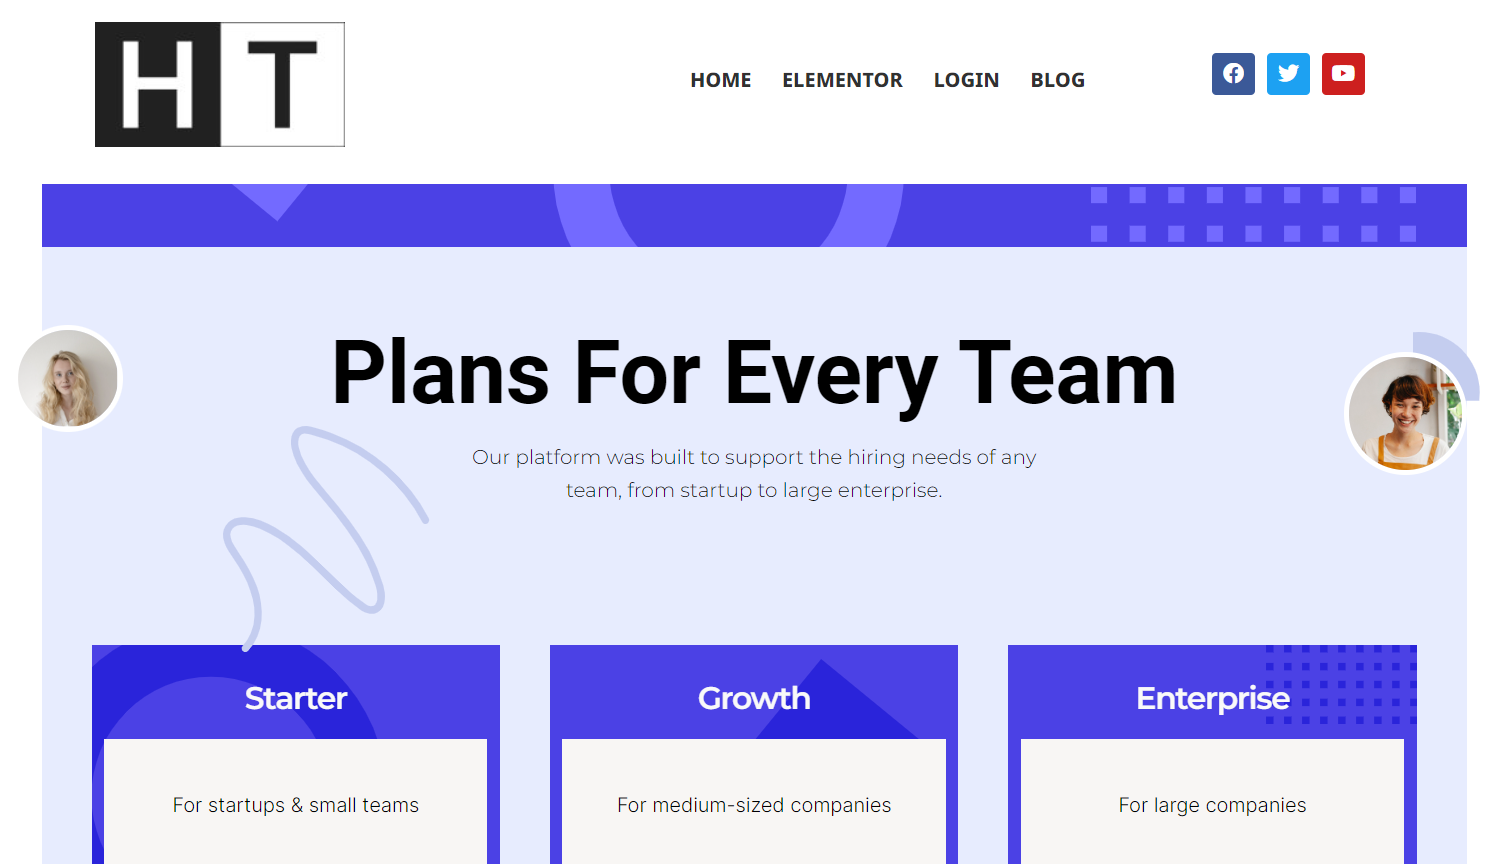
2. Insert Your Logo
Drag the Site Logo widget into the left column.
Upload your logo and adjust its size and alignment.
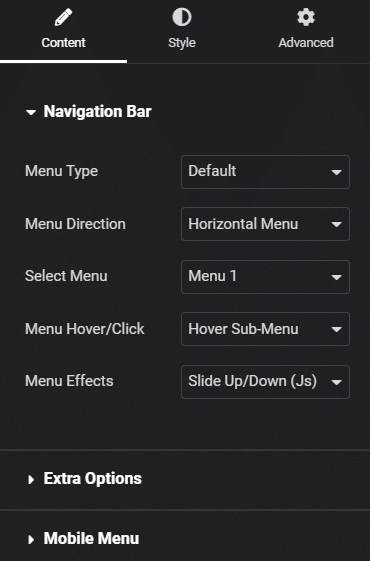
3. Add a Navigation Menu
Place the Navigation Menu widget by The Plus Addons from Elementor in the center column.

Select your menu and style it to match your brand.
From the Style tab, we can change the font face, size, and color of the menu items. We can also tweak padding and spacing.
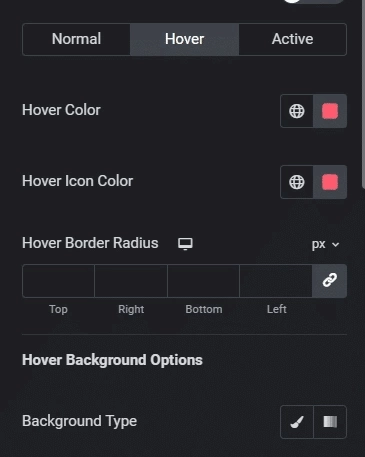
That’s not all.
We can also assign unique colors to menu items when users hover over them or when the page is active.
Apart from that, the Header Builder by The Plus Addons for Elementor has an entire catalog of widgets to help you design headers on the go.
4. Include Social Icons
Drag the Social Icons widget into the right column.
Add your social links and customize their appearance.
5. Publish Your Custom Header
Click Publish and set display conditions as before.
Pro Tips for a Standout Header
- Prioritize usability: Make sure navigation is clear and accessible.
- Stay on brand: Use your colors, fonts, and logo for a cohesive look.
- Think mobile: Use Elementor’s responsive settings to ensure your header looks great on all devices.
- Explore widgets: Add search bars, shopping carts, or custom buttons for extra functionality.
FAQs on Using Elementor Header Templates
Are there free Elementor header templates?
Yes! Elementor offers several free templates accessible via the Theme Builder.
Can I make my header sticky or mobile-friendly?
Yes! Elementor offers several free templates accessible via the Theme Builder.
Can I edit or fully customize header templates?
Yes, every element of a template can be modified, moved, or replaced.