If your website lacks a clear menu, visitors might find it hard to move around and quickly leave without finding what they need. A well-organized menu helps your audience explore your site more easily, making their experience smoother and more enjoyable.
Adding a menu in WordPress can fix this problem by giving your site a simple, easy-to-use navigation system.
Whether you’re creating a new website or enhancing an existing one, understanding how to add menu in WordPress will make your site more user-friendly and visually appealing to your visitors.
Let’s get started!
What Is the Purpose of Menus in WordPress?
Menus in WordPress help visitors move around your website easily. They usually show up at the top of your pages and link to important sections.
You can create different menus for your site. Each one can include links that suit a specific purpose.
Example of main menu links:
- Home
- About
- Services
- Contact
Menus can also include sub-links under main items. This helps organize content so visitors can find details without confusion.
Example of sub-menu items under “Services”:
- Web Design
- SEO Services
- Social Media Management
You can change the order of links by dragging and dropping them. This lets you arrange your menu to fit what your visitors need.
Keep your menu simple. Too many options can make it hard for people to choose what to click on. Aim for a clear path through your site.
How to Add a Menu in WordPress?
Step 1: Choose a Name for Your Menu
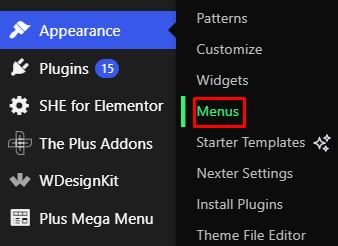
Go to your WordPress dashboard. Click on Appearance, then select Menus.
You’ll find a Menu Name field where you can type in a title for your menu.

Pick a clear and descriptive name, such as “Main Menu” or “Footer Menu,” so you can easily recognize it later.
Once you’ve entered the name, locate the “Create Menu” button and click on it. Your menu will now be created and ready for customization.
Step 2: Insert Items into Your Menu
On the left side, you will see boxes offering Pages, Posts, and Custom Links.
Tick the boxes next to the pages or links you want. Then click Add to Menu.
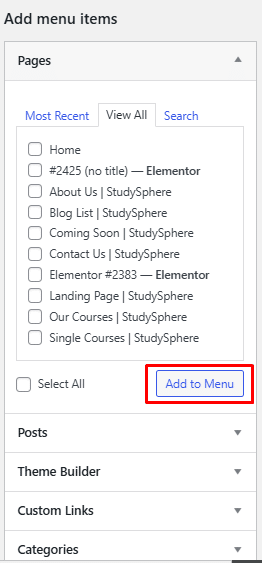
Your chosen items will show up on the right side under the menu structure. Add as many as you want.
Step 3: Arrange Menu Items
Once you’ve added your menu items, you can begin arranging them. Simply drag and drop the items on the right side to set them in the order you prefer.
Be sure to check the “Menu Settings” section located below the menu layout. Here, you can select the location where the menu will appear, like the header or footer of your website.
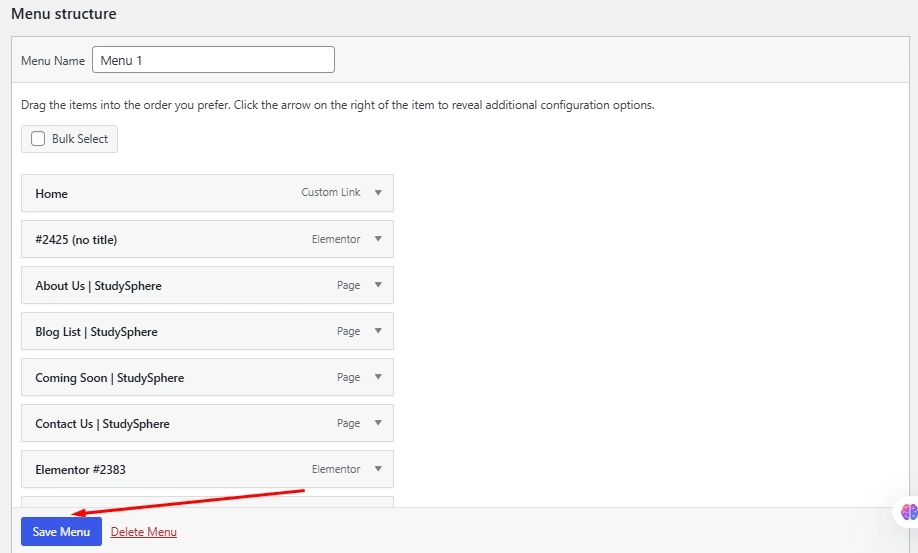
After arranging your menu, make sure to click “Save Menu” to store your updates.

Step 4: Set a Menu Display Location
After your menu is set up, go to the Manage Locations tab, which is located next to the Edit Menus tab on the same screen.
Click it to see the list of menu placement options available in your current theme.
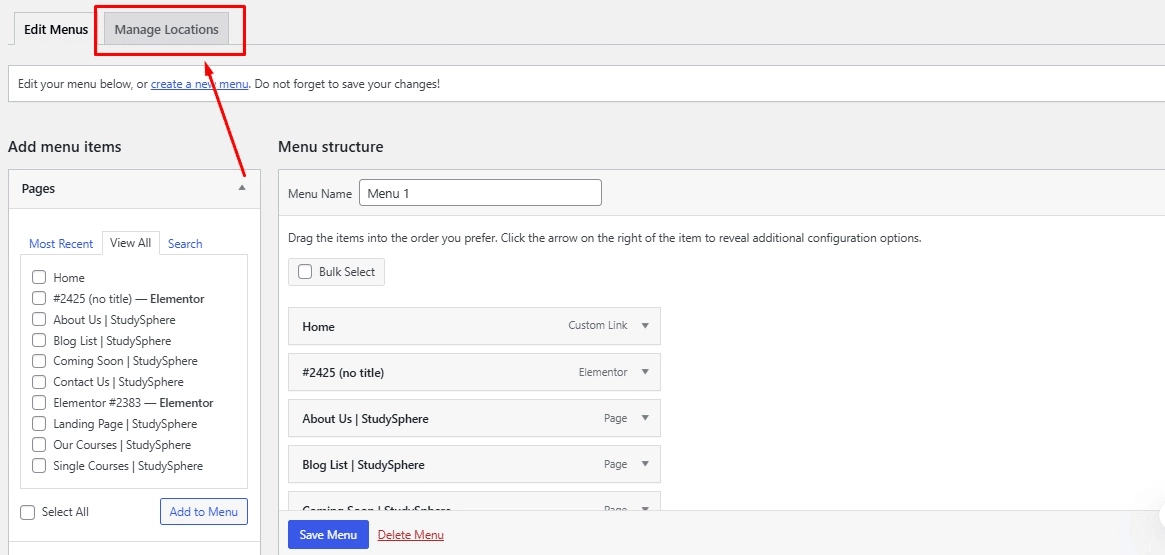
A dropdown menu will appear next to each available location. Select the menu you want to link to that specific spot.
For instance, if there’s a Primary Menu option, pick the menu you just created from the list.
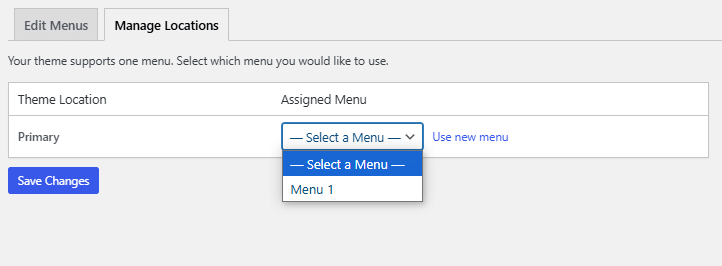
Click Save Changes when you finish.
Some themes let you assign different menus to several areas, so you can set up unique navigation in multiple places.
How to Add Dropdown Menus in WordPress
- To build dropdown menus, go to your dashboard and select Appearance, then Menus.
- Pick items from the left panel and click Add to Menu.
- Drag the items you want under a main menu slightly to the right to create sub-menus.
- When you’re finished, click the “Save Menu” button.

This setup helps organize your site by grouping related pages under one menu.
How to Customize Your Menu Items?
You can enhance your WordPress menu’s usability and effectiveness by personalizing the menu items.
This includes deleting unwanted items, modifying current ones, and adding custom links tailored to your requirements.
Option 1: Deleting Items from the Menu
To delete a menu item, first open your WordPress dashboard. Then go to Appearance > Menus.
Pick the menu you want to change.
Find the menu item you want to remove.
Click the down arrow beside the item name to open its options.
Select the Remove option to delete the item.
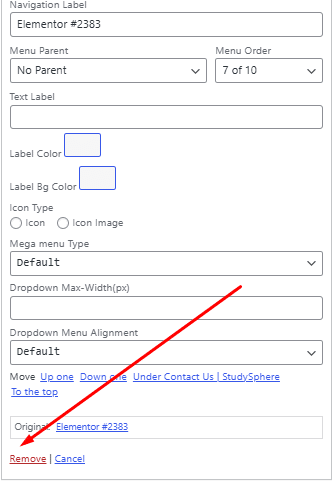
This will instantly remove the item from your menu. If you change your mind, you can easily add the item back again. Remember to click Save to apply your menu changes.
Option 2: Changing Menu Item Details
You can also edit a menu item’s name or move it to a new spot.
In the same menu area, click the arrow beside the item you want to change.
Type a new name in the Navigation Label box.
To adjust its order, click and drag the item up or down within the list.
You can add a Title Attribute to give a short description when someone hovers over that menu link.
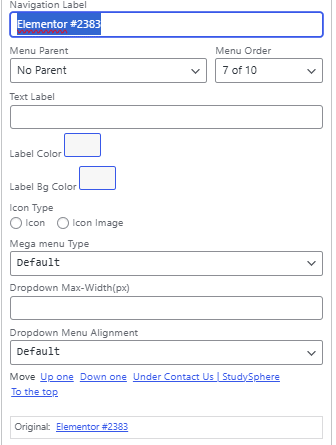
Remember to click Save after making your edits.
How to Insert Custom Links into WordPress Menus?
To add custom links, go to the Menus area in your WordPress dashboard.
Look for the Custom Links section.
Type the web address you want to link to in the URL box.
Then, enter the name you want to appear in the menu under Link Text.
Press the Add to Menu button to include the link.
You can drag this new item to reorder it within your menu like any other item.

Once placed where you want, save your menu to apply the changes.
This way, you can direct visitors to outside pages or useful resources easily.
Wrapping Up
Creating a menu in WordPress is simpler than it appears, and once it’s set up, your site will become much easier to navigate.
Whether you’re adding pages, arranging dropdown menus, or customizing links, a well-organized menu allows visitors to quickly find what they’re looking for without frustration.
Now that you understand how to create menus in WordPress, go ahead and provide your website with the navigation it needs.
For those using Elementor, there’s a fantastic option, the Navigation Menu Widget for Elementor by The Plus Addons, which makes it simple to build a powerful and functional navigation menu for your site.
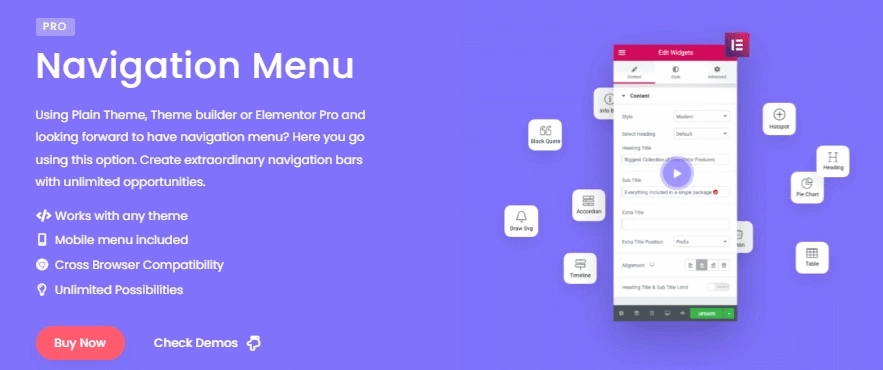
This widget is one of over 120 widgets offered by The Plus Addons for Elementor. The plugin includes a variety of useful widgets such as the Mega Menu Builder for Elementor, Mobile Menu for Elementor, Horizontal Mega Menu Widget, and many others.
Explore the full collection of 120+ widgets and extensions here. Begin creating your perfect website, no coding required!
FAQs on Adding a Menu in WordPress
How can I make a custom menu in WordPress?
Go to your WordPress dashboard and click Appearance > Menus. From there, choose the pages, posts, categories, or custom links you want to include. After adding the items, click Save Menu to create your custom menu.
What do I do to change an existing menu in WordPress?
Visit Appearance > Menus and pick the menu you want from the dropdown. You can move items around, add new ones, or remove unwanted entries on the left side. Don’t forget to click the Save Menu once you finish editing.
Is it possible to have several menus on my WordPress site?
Yes. WordPress lets you create multiple menus. You can then assign them to different spots on your site, like the header, footer, or sidebar, based on what your theme allows.
Why isn’t my menu showing, and how can I fix it?
First, check Manage Locations in the Menus section to see if your menu is assigned to the correct spot. Make sure you picked the right menu for the theme location. If it still does not appear, review your theme settings, as some may hide menus.
How do I add a menu to a WordPress site using Elementor?
Open your page with the Elementor editor. Drag the Nav Menu widget to where you want the menu. Then, pick your menu from the panel on the left. You can also change the menu’s look and layout in Elementor’s settings.