Using the free version of Elementor? No worries—you can still create awesome sticky headers! Thanks to WDesignKit, you get access to specially designed header templates that work perfectly with Elementor Free and the Sticky Header Effects for Elementor plugins.
To check the complete feature overview documentation of Sticky Header Effects for the Elementor plugin, click here.
Requirement – This feature is a part of Sticky Header Effects for Elementor plugin, make sure its installed & activated.
To use the WDesignKit templates with the Sticky Header Effects for Elementor Free plugin, follow the steps –
1. Once you install the Sticky Header Effects for Elementor plugin, from the Dashboard, go to Elementor > Sticky Header Effects.
It will start the onboarding process.
2. It will auto detect the Elementor Free version and click on the Next button.
3. On the next screen, you can subscribe to the newsletter or skip.
4. Then, on the next screen, click on the Enable Theme Builder button. It will install the free Nexter Extension plugin, which will allow you to create a header since, with Elementor Free, you can’t create a header.
5. After that, click on the Create Header button. It will create a header template with Nexter Extension.
6. On the next page, you can click on the Enable Header Templates button, which will install the WDesignKit plugin, which will allow you to use header templates.
7. Then you’ll see many free header templates. Select the template you like and click on the Lock icon, which will open a pop-up.
All the WDesignKit header templates use a proper menu, and since the Elementor Free plugin doesn’t have a menu widget, for the menu, it will ask you to install the free Navigation Menu widget from The Plus Addons for Elementor.
8. Click on the Enable Free Navigation Menu button. It will install The Plus Addons for Elementor free plugin, and the template will be added to the page.
9. Now, to make the header sticky, select the main Container widget of the header, then go to the Advanced > Sticky Header Effects tab and turn on the Enable toggle. Then you can add different effects to the sticky header.
Note: You can also import header templates from the Sticky Header Effects tab by clicking on the Import Presets button.
10. Once done, click on the Publish button, and your sticky header will be published.
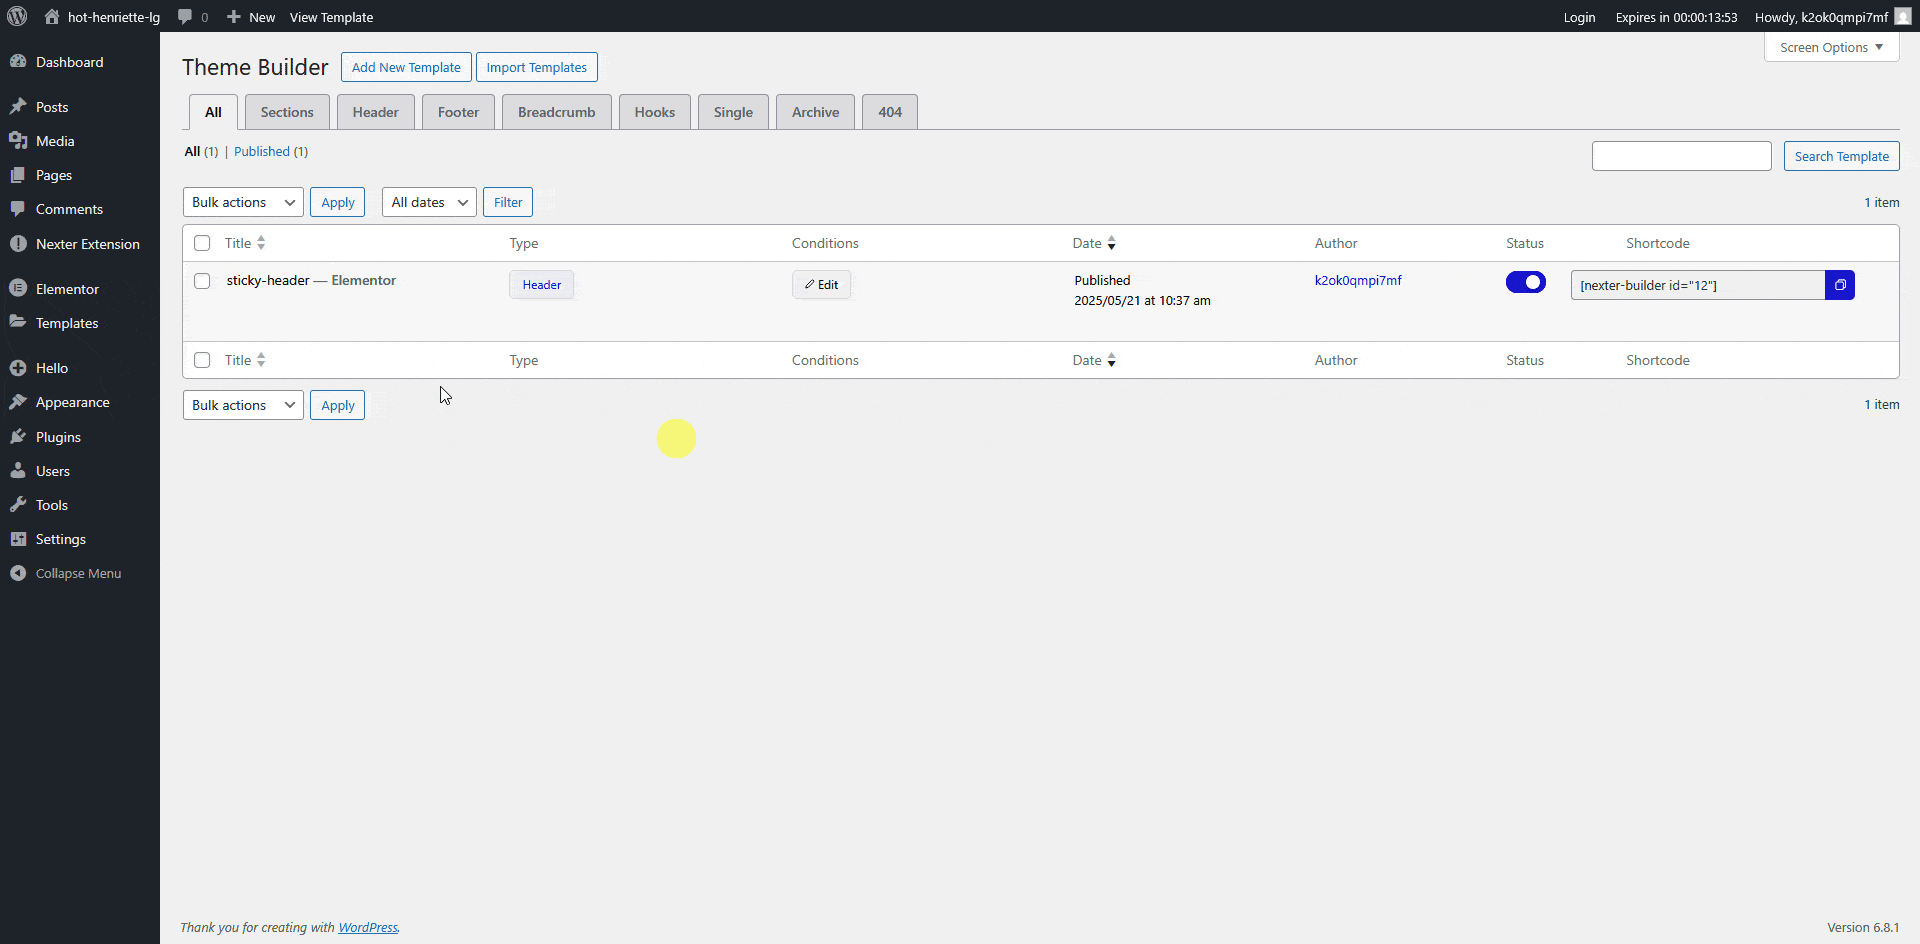
11. Then, from the Dashboard, go to Nexter Extension > Theme Builder and set the appropriate display condition for the header template.
This is how easily you can create a sticky header using templates for the Elementor Free plugin.